

George’s Valley 19th c.

Assessment
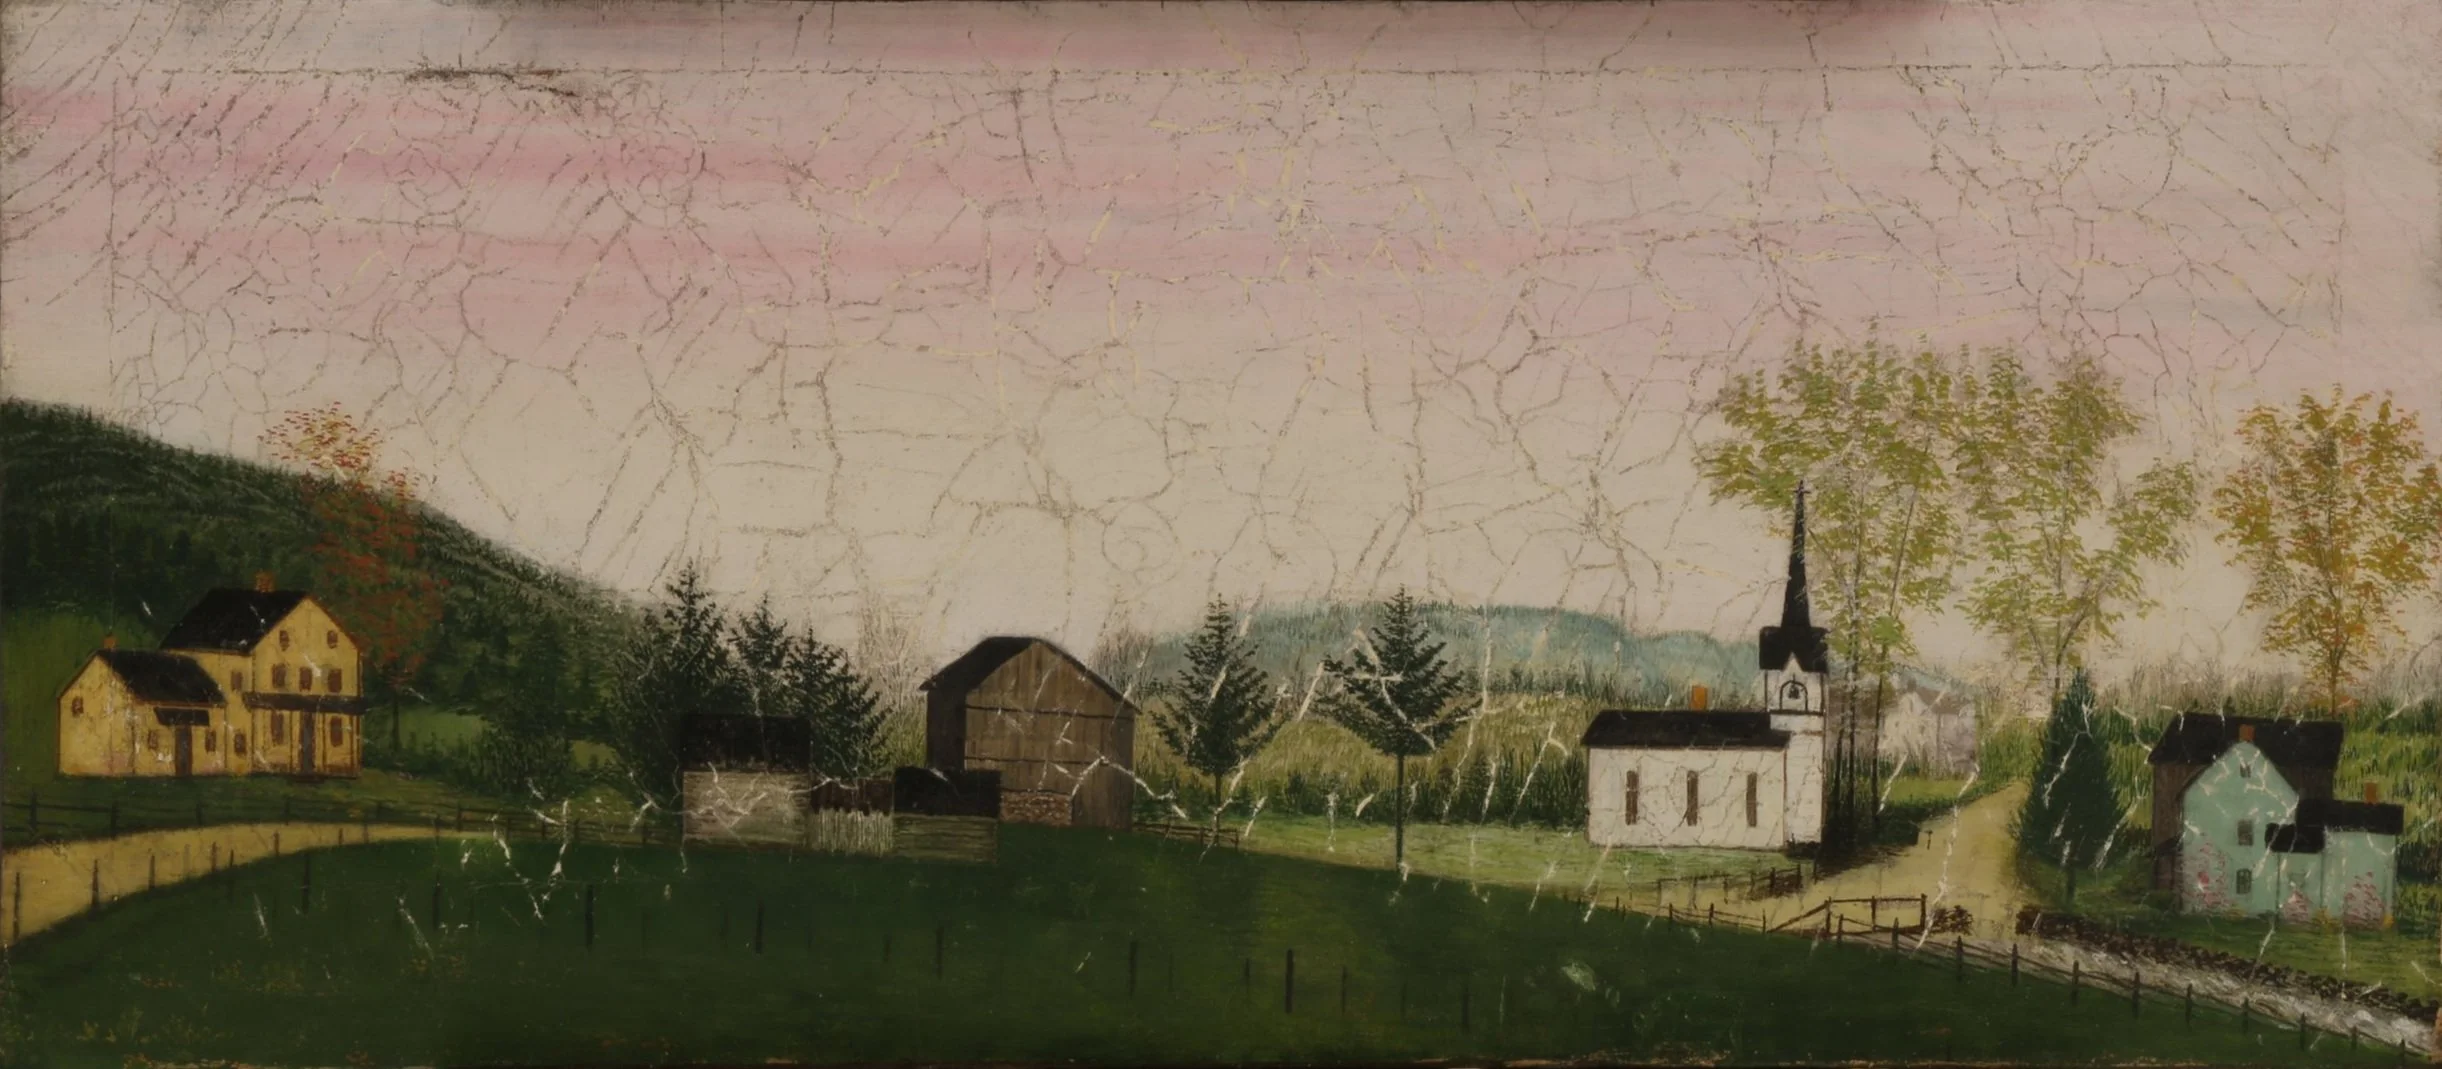
Image - Before Treatment
This painting was executed in old oil-based house paints on an unprimed, very finely woven printed fabric, which was very brittle due to age. The painting’s surface was extremely dirty and appears to have no varnish coating at all. This painting was stretched over a crudely made 1 ½” x 1 ½” strainer (fixed corners) by the client’s father. The canvas was made from old mattress canvas ticking and secured with randomly spaced, now rusted, large headed iron galvanized tacks. In some places, the cloth support appeared to be glued onto the outside edge of the strainer, and in some other areas where the canvas is folded over, the tacks are glued to itself (without being glued to the strainer).
(continued)
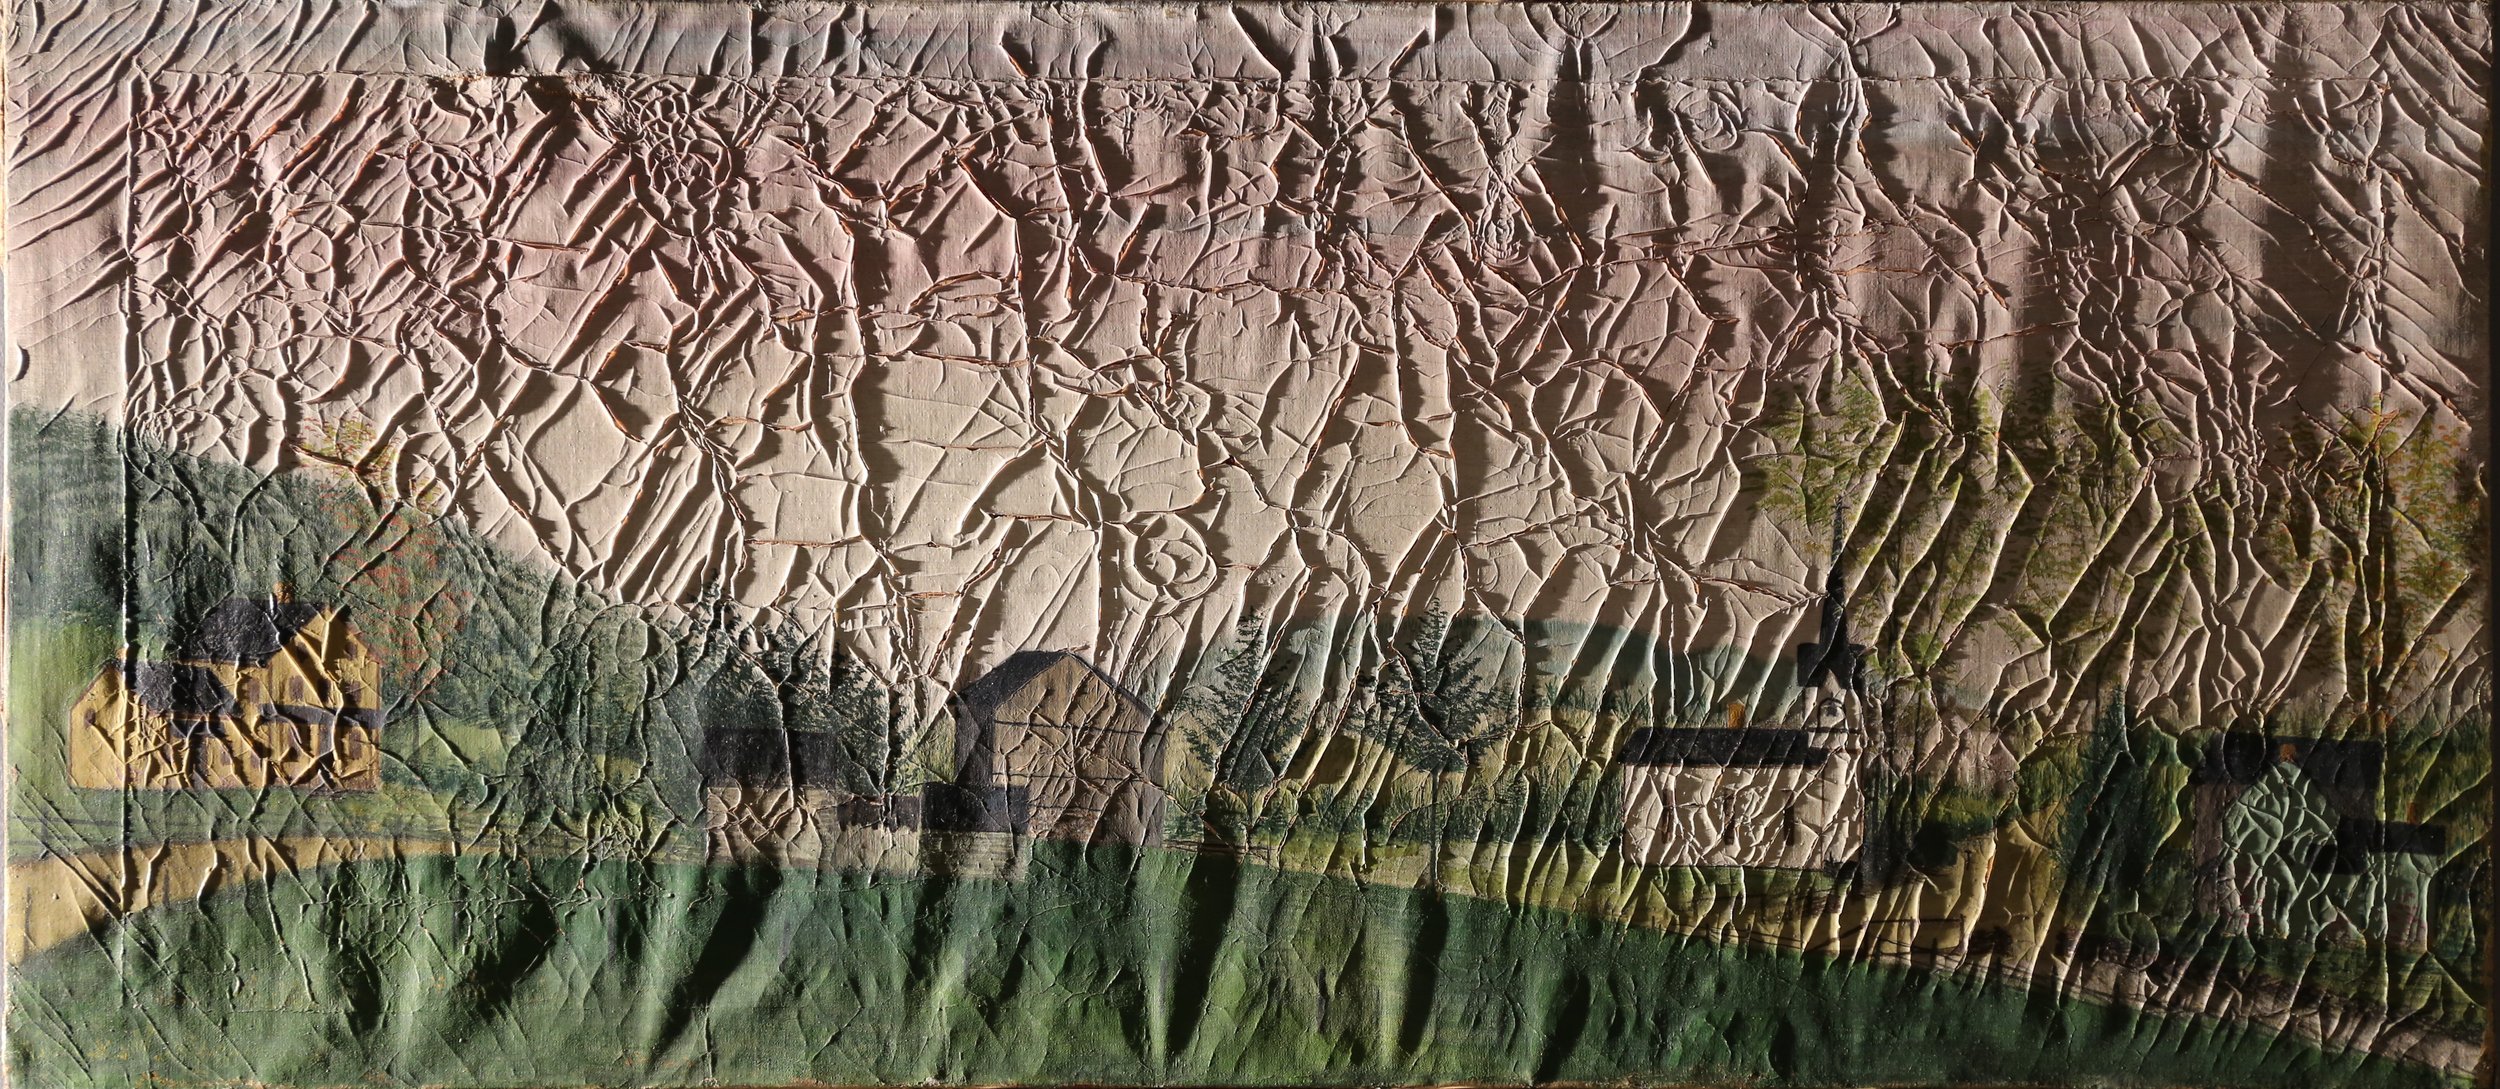
Some time after this painting was completed circa 1950, it was water damaged. As a result, the paint layers, already presumably cracked by age, started to curl and separate from the canvas as the canvas shrank from washing sizing out of canvas’ structure. Sizing is used as a stiffening adhesive for the threads being mechanically passed through the loom as the mattress ticking was being woven. When this is washed out, the canvas is softer than before, and is smaller in size. With the shrinkage of the canvas, the paint had no place to set down without overlapping the next curled, cupped, and cracked piece.
Image - Raking light photo before treatment showing distortions in the canvas “quilting” from shrinking canvas and detaching paint.


Consolidation
Image - Tacking iron and wax resin adhesive are being used to consolidate lifting paint.
While still stretched, a wax resin adhesive mixture was locally applied onto the front of the painting. The adhesive was melted using a small heated tacking iron into the structure’s surface without applying downward pressure. Once the adhesive was melted into the structure, light pressure was applied to both stretch the shrunken canvas out, and relax the tented paint back into its original position. As a result of this process, the painting was out of plane and had stretched back out to its original size. We took the painting off of its strainer, and relaxed the tacking edges using moisture until they were flat. We then applied more wax resin adhesive to the back and infused the canvas face up on our Vacuum Hot Table. The canvas and paint were now back in plane, not overlapped, and well attached to each other. To further support this extremely fragile canvas, we added a secondary linen lining canvas to the back (using the same adhesive) once again on our Vacuum Hot Table.
Fill & Inpaint
Image - During treatment painting has been filled.
Because of all of the paint instability, we were not able to clean the painting prior to this point in the treatment. Introducing adhesives for consolidation makes the process of cleaning embedded dirt layers in a painting more tedious than normal. Following cleaning, losses in the ground and paint were filled, and then all of the crack lines were meticulously inpainted to match the artist’s original colors using conservation grade paints. As per the client’s request, we re-stretched the painting onto its original strainer made by her father. The original barnwood frame was also conserved and reused to frame this piece making it look like the client always remembered growing up at her grandfather’s home.
