

Penn’s Treaty by Edward Hicks

Before Treatment
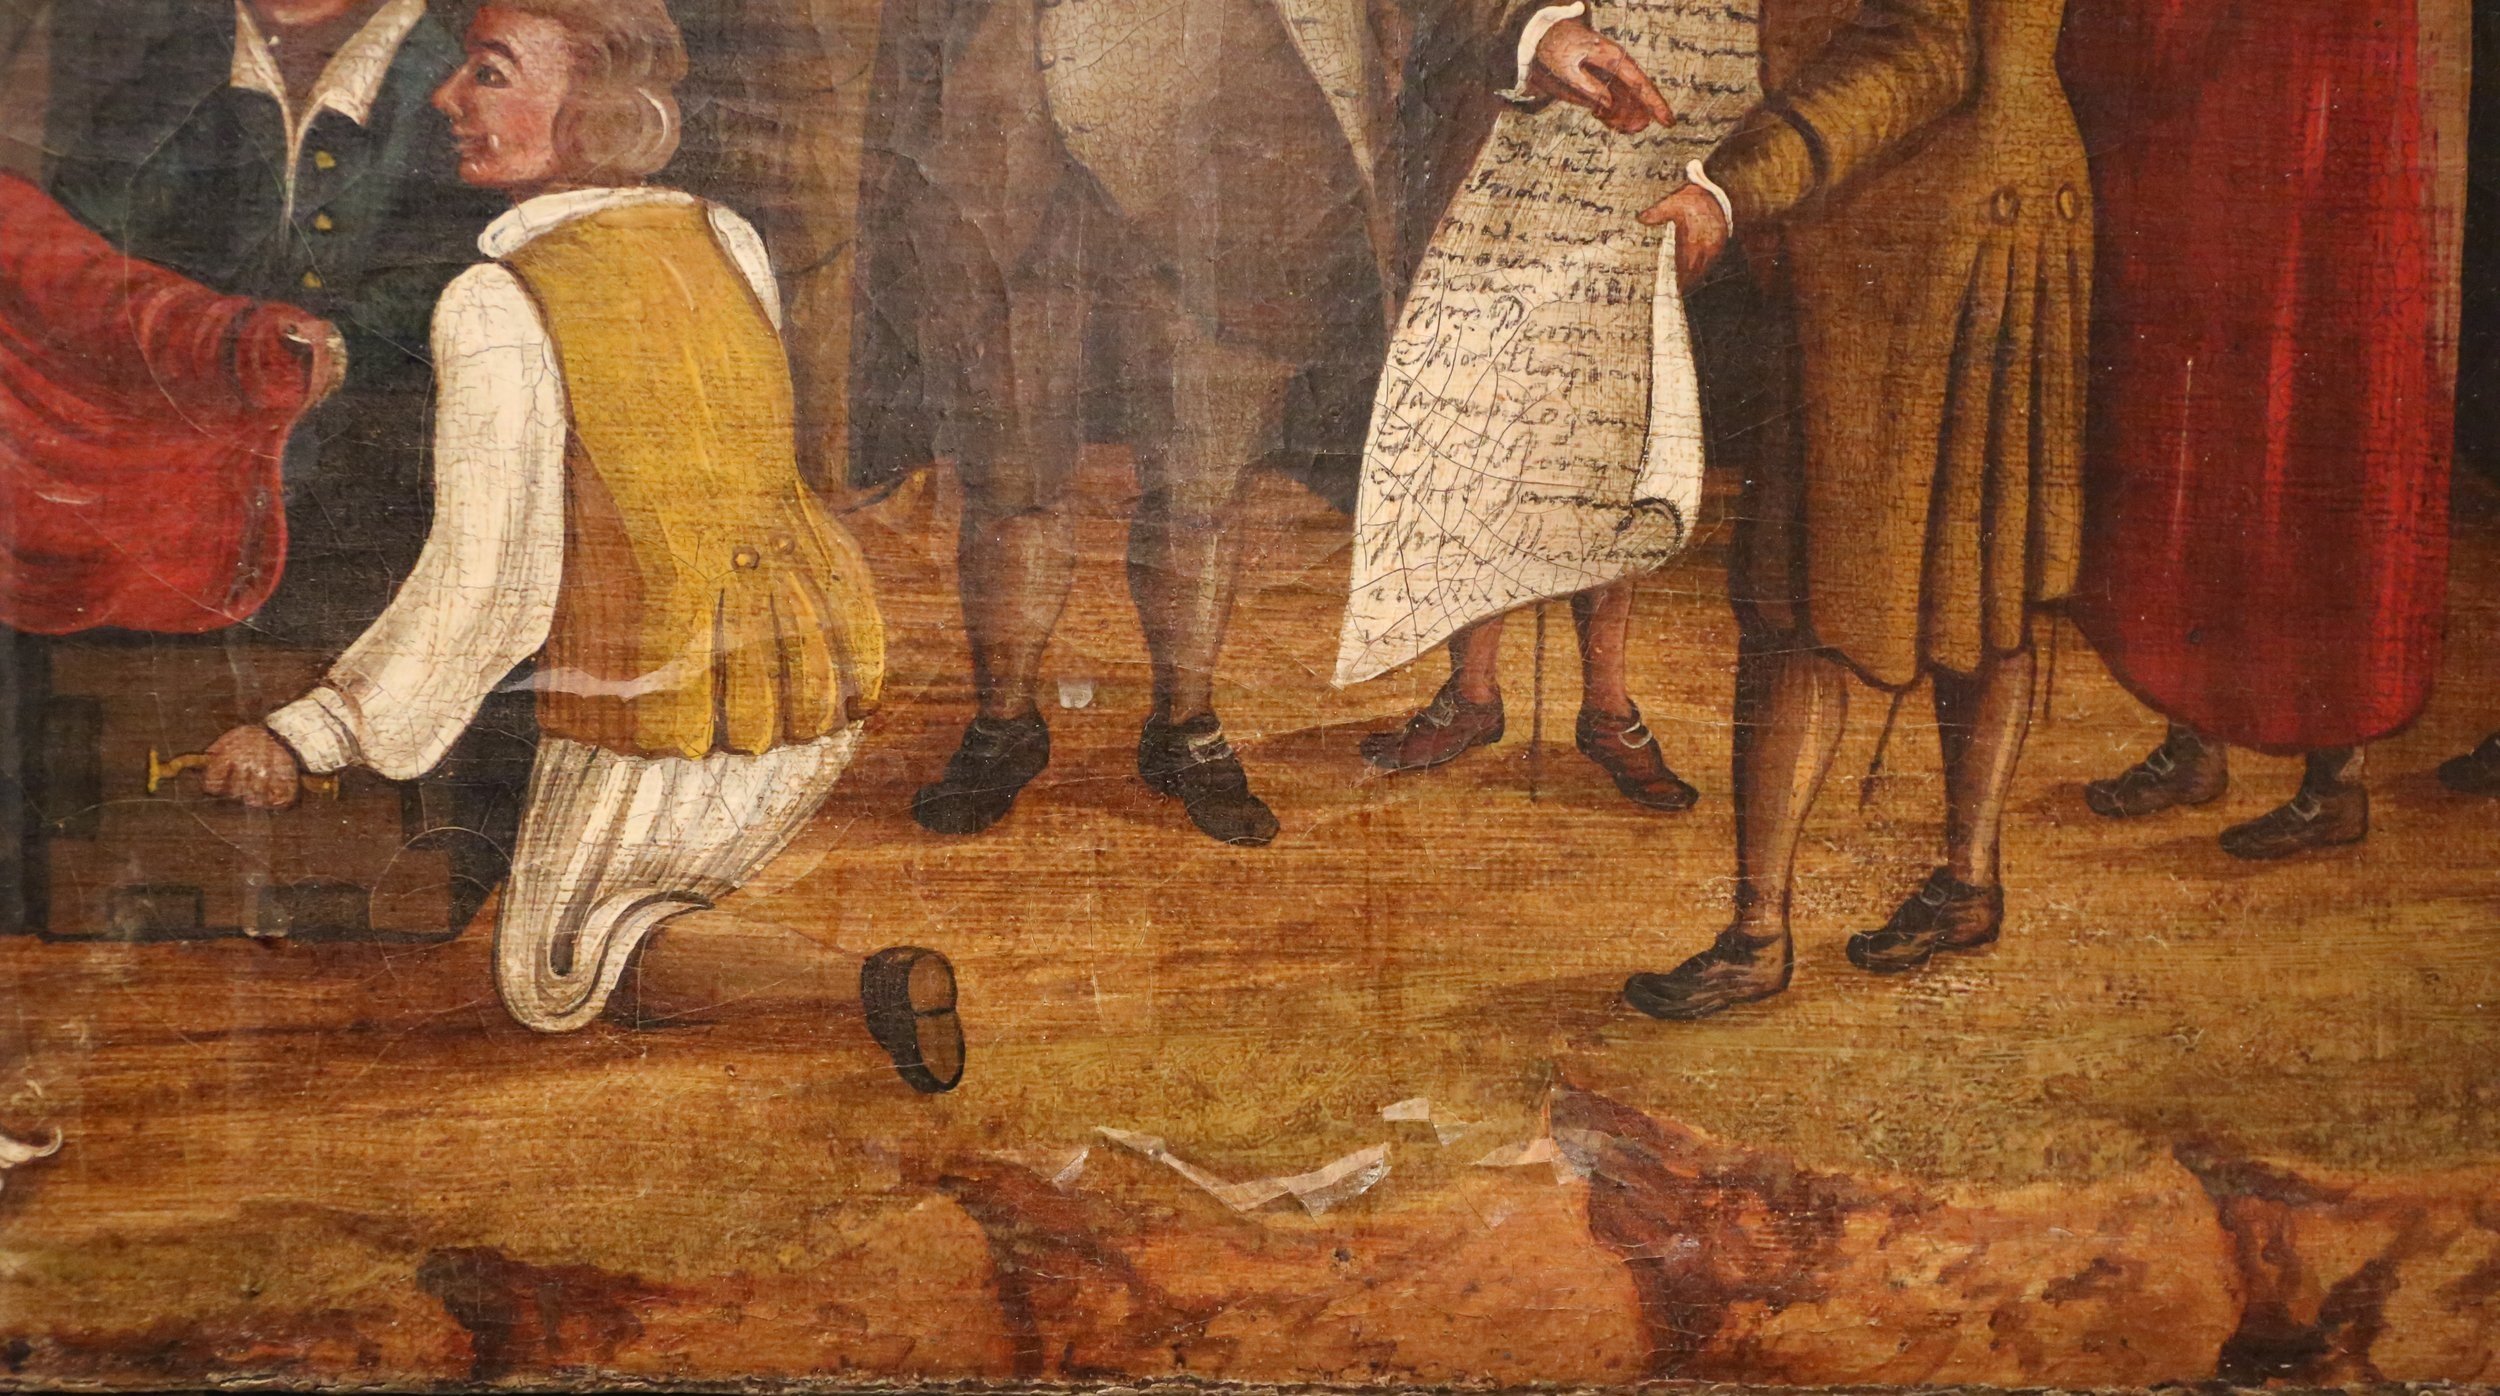
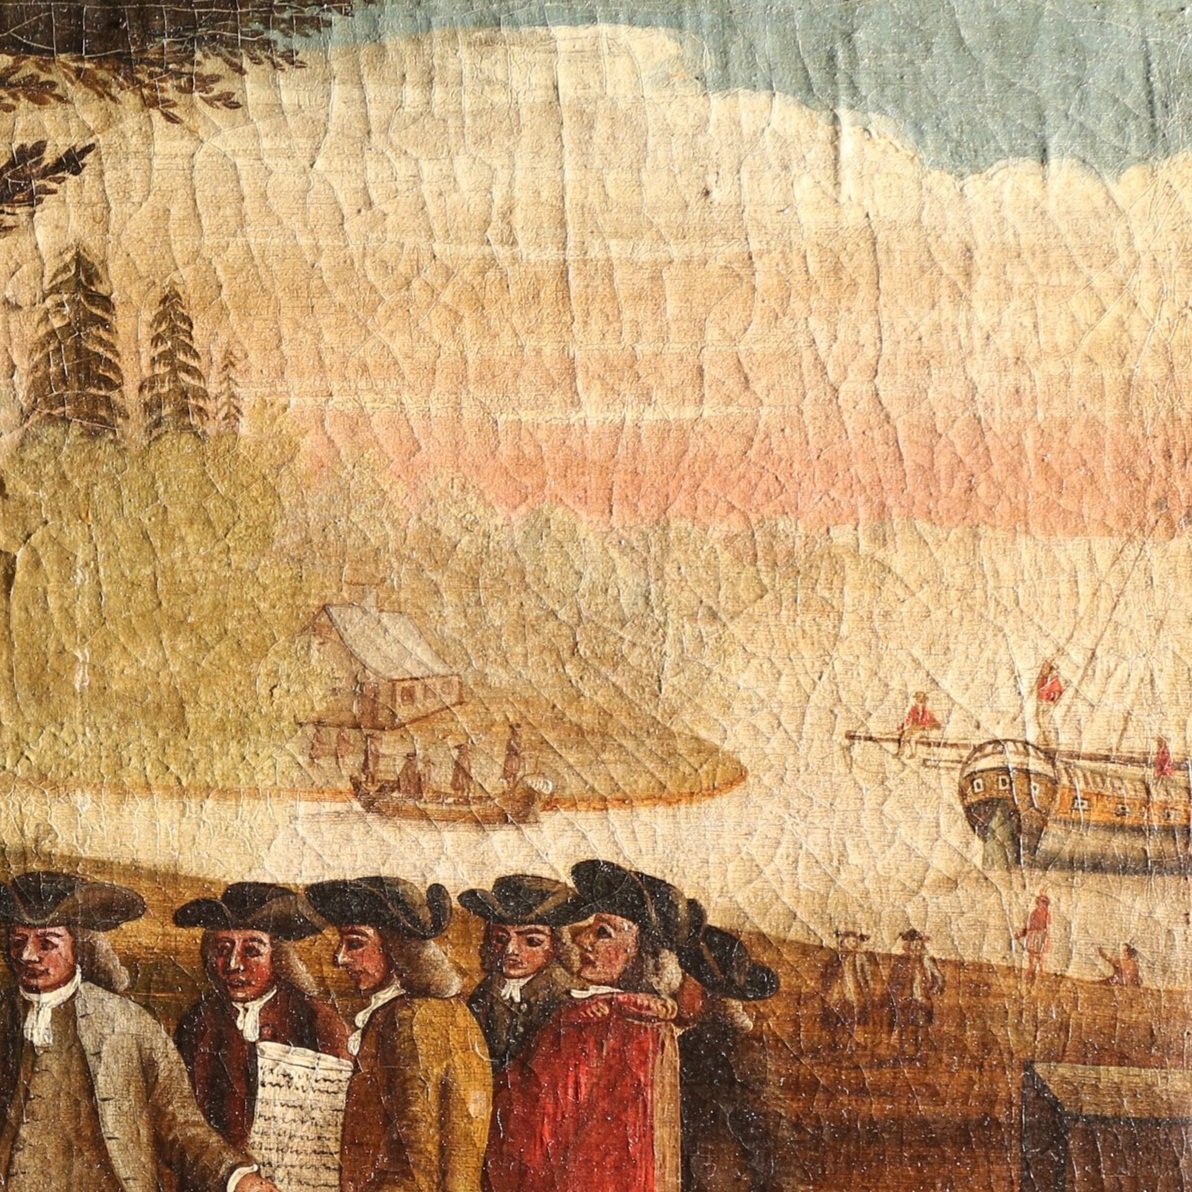
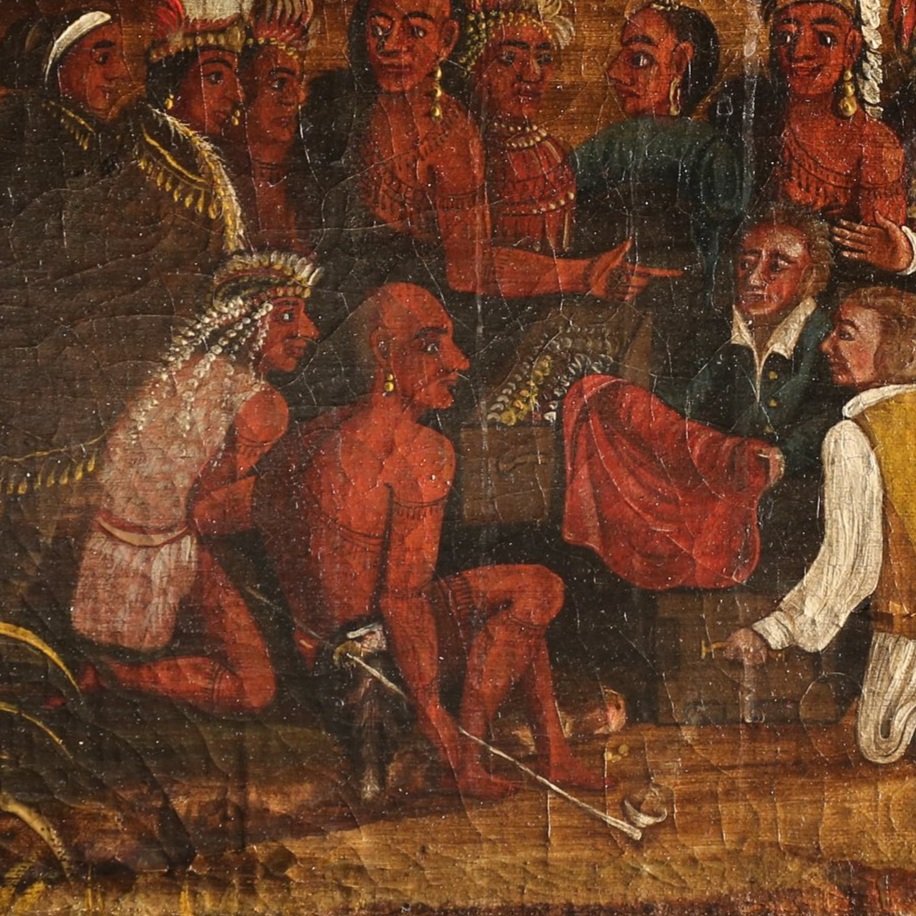
Penn’s Treaty is an important iconoclastic primitive American 1830 painting by Edward Hicks. It depicts William Penn’s 1683 Treaty with Tamanend, a chief of the Lenape Turtle Clan near the village of Shackamaxon, Pennsylvania. The painting came to our facility for emergency conservation treatment following water damage from a roof leak while in its institution’s storage. Areas of the painting exhibited visible ground layers from severe cupping and cracking paint. This was juxtaposed to the washed away sizing layer in the canvas, resulting in the canvas shrinking, leaving no room for the flaking paint to be set back down. The water left the wax resin lining adhesive, from a previous restoration, blanched where water ran over both the back and front of the painting, and the tacks at the bottom were starting to rust. In addition to this new damage, the painting had normal age crackle throughout the composition, and had both a wide set and a fine intricate set of traction crackle in the tree canopy. On top of these issues, the veneered and lettered original Hicks frame was delaminating, and the old restoration was falling out.

(continued)
The painting was previously restored c. 1950 – 70, and partially cleaned leaving discolored dirt and varnish in the interstices of the paint. The painting had been wax infused and lined onto a fiberglass cloth. This early wax adhesive mixture is now known to become very brittle with age, and cause lining delamination from the original support. Early wax resin mixtures from this period frequently contained beeswax, paraffin, and carnauba waxes. The painting is stretched on a very narrow pine stretcher with mortise and tenon butt joinery. There are two distinct varnish coatings on the painting as well. The uppermost was a fairly thick discolored natural resin brush coating applied during the 1950’s – 1970’s conservation process, and the other was remnants of a lower layer that remained in the interstices of the paint left from a previous cleaning attempt.
Before treatment raking light photo.

Details of craquelure.
In order to speed up the water evaporation in the piece and its components, we used two small fans to blow air slowly across the surface and under the painting.
When the painting was sufficiently dry, we were able to remove the discolored varnish and dirt layers from the areas of the painting where the paint was not cupping, flaking, or tenting, which we were able to handle during the following treatment processes.

During Treatment
Image - Tacking edges being smoothed down using a tacking iron.
The painting was carefully removed from its stretcher to relax the bent tacking edges back into plain. Using our vacuum hot table, we were able to heat the painting enough to melt the old wax lining adhesive, and carefully slide the original painting off of its old lining.

Burnt Finger Technique
We next attached a temporary strip lining to the canvas to facilitate stretching the painting onto a vertical working frame. This allowed us to reach both sides of the painting at the same time. Using a method called the “Burnt Finger Technique,” molten hot wax resin was applied to the back of the canvas in areas of tenting on the front. After the hot tacking iron had melted the wax resin from the back, we removed the heat, and stretched/pushed the original canvas forward into the cupped paint until there was enough for the paint to fit back into place and not overlap. It’s called the “Burnt Finger Technique” for all of the obvious reasons if you aren’t careful.
After re-stretching the canvas over its original stretcher, losses were filled with gesso and damages, abrasion, and areas of traction crackle were inpainted using conservation grade paints. A protective spray coating of a synthetic varnish was applied.
After Treatment
After treatment of the frame, the painting was placed into its original frame with new protective backing board, and hanging hardware.